- TECH
- Vol.86
エンジニア
Y.M.
- Vol.86
- TECH
- 2018.1.18
簡単なタブ切り替え機能の実装
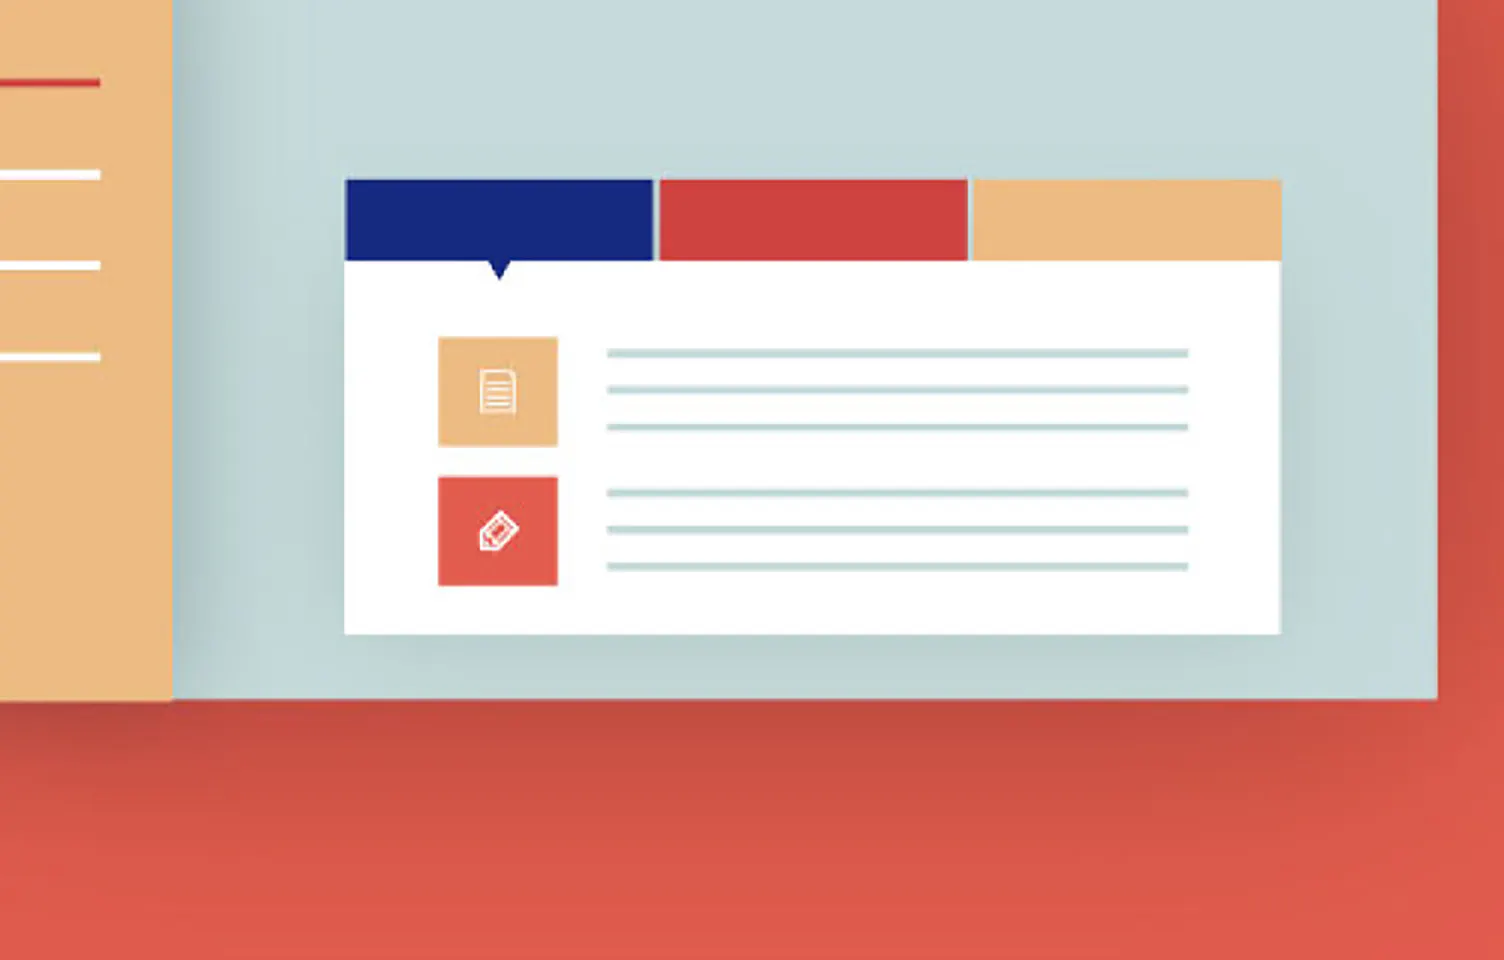
ページ遷移や、スクロールでの大きな操作がいらないタブ切り替えコンテンツ。 タブ切り替えは、CSSとJSの制御、もしくはCSSだけでも実装することが可能です。 今回は簡単なタブ切り替えの実装方法をデモ・サンプルコードと合わせてご紹介します。

基本の実装
CSSとJS、またCSSのみでタブ切り替え機能をそれぞれ実装していきます。
CSSでタブ切り替えの実装
panel1
panel2
panel3
<div class="tab_wrap">
	<input id="tab1" type="radio" name="tab_btn" checked>
	<input id="tab2" type="radio" name="tab_btn">
	<input id="tab3" type="radio" name="tab_btn">

	<div class="tab_area">
		<label class="tab1_label" for="tab1">tab1</label>
		<label class="tab2_label" for="tab2">tab2</label>
		<label class="tab3_label" for="tab3">tab3</label>
	</div>
	<div class="panel_area">
		<div id="panel1" class="tab_panel">
			<p>panel1</p>
		</div>
		<div id="panel2" class="tab_panel">
			<p>panel2</p>
		</div>
		<div id="panel3" class="tab_panel">
			<p>panel3</p>
		</div>
	</div>
</div>
CSSのみで実装する際、ラジオボタンでコンテンツ切り替えの制御をします。
ラジオボタンとタブ用の要素(サンプルではlabel)を連動させるため、
連動させる要素にfor属性でラジオボタンのidを指定します。
..tab_wrap{width:500px; margin:80px auto;}
input[type="radio"]{display:none;}
.tab_area{font-size:0; margin:0 10px;}
.tab_area label{width:150px; margin:0 5px; display:inline-block; padding:12px 0; color:#999; background:#ddd; text-align:center; font-size:13px; cursor:pointer; transition:ease 0.2s opacity;}
.tab_area label:hover{opacity:0.5;}
.panel_area{background:#fff;}
.tab_panel{width:100%; padding:80px 0; display:none;}
.tab_panel p{font-size:14px; letter-spacing:1px; text-align:center;}

#tab1:checked ~ .tab_area .tab1_label{background:#fff; color:#000;}
#tab1:checked ~ .panel_area #panel1{display:block;}
#tab2:checked ~ .tab_area .tab2_label{background:#fff; color:#000;}
#tab2:checked ~ .panel_area #panel2{display:block;}
#tab3:checked ~ .tab_area .tab3_label{background:#fff; color:#000;}
#tab3:checked ~ .panel_area #panel3{display:block;}
「~」結合子について
同じ親要素を持つ兄弟要素を指定する際に使用します。
弟要素(隣接した後ろの要素)のみを指定する「+」結合子とは違い、先に指定した要素より後ろにある兄弟要素であればスタイルを適用することができます。
またCSSのみでの実装では、タブが選択された際のデザインなどは個別指定しなければなりません。
タブ数が多いと記述が長くなってしまいますが、Sassを使用すれば繰り返し処理で簡単に指定することができます。
Sass @whileとインターポレーション※1※1ある既知の数値データ列を基にして、そのデータ列の各区間の範囲内を埋める数値を求めること、または関数を与えることをさす。を使用した繰り返し処理の記述
$i:1;
$length:3;
@while $i <= $length{
	#tab#{$i}:checked{
		~ .tabarea1 .tab#{$i}_label{background:#fff; color:#000;}
		~ .panel_area #panel#{$i}{display:block;}
	}
	$i:$i + 1;
}
※1 ある既知の数値データ列を基にして、そのデータ列の各区間の範囲内を埋める数値を求めること、または関数を与えることをさす。
CSS、JSでタブ切り替えの実装
panel1
panel2
panel3
.tab_wrap{width:500px; margin:80px auto;}
.tab_area{font-size:0; margin:0 10px;}
.tab_area label{width:150px; margin:0 5px; display:inline-block; padding:12px 0; color:#999; background:#ddd; text-align:center; font-size:13px; cursor:pointer; transition:ease 0.2s opacity;}
.tab_area label:hover{opacity:0.5;}
.panel_area{background:#fff;}
.tab_panel{width:100%; padding:80px 0; display:none;}
.tab_panel p{font-size:14px; letter-spacing:1px; text-align:center;}

.tab_area label.active{background:#fff; color:#000;}
.tab_panel.active{display:block;}
$(".tab_label").on("click",function(){
	var $th = $(this).index();
	$(".tab_label").removeClass("active");
	$(".tab_panel").removeClass("active");
	$(this).addClass("active");
	$(".tab_panel").eq($th).addClass("active");
});
選択中のデザインはCSSを使用し、クラスの追加/削除をJSで制御します。
jQueryには toggleClass が存在しますが、jQuery3以降では非推奨タグとなっているため使用していません。
border-radiusを使ってデザインを変える
デザインやレイアウトをする際は様々なプロパティなどを組み合わせて実装するものですが、
今回は、ボックス要素のコーナーに角丸を指定するborder-radiusだけで十分リッチにみせる実装をご紹介します。
panel1
panel2
panel3
タブやコンテンツ部分の一部に角丸を指定し、少し柔らかい印象にしています。
.tab_wrap{width:470px; margin:80px auto;}
.tab_area{font-size:0; padding:0 55px;}
.tab_area label{width:110px; display:inline-block; padding:14px 0 12px; color:#fff; background:#90c9cc; text-align:center; font-size:13px; cursor:pointer; transition:ease 0.2s opacity; border-top-left-radius:10px; border-top-right-radius:10px; vertical-align:bottom; transition:ease 0.2s; margin:10px 5px 0;}
.tab_area label:hover{opacity:0.5;}
.tab_panel{width:100%; padding:80px 0; opacity:0; display:none;}
.tab_panel p{font-size:14px; letter-spacing:1px; text-align:center;}
.panel_area{background:#ffffff; border-bottom-right-radius:10px; border-bottom-left-radius:10px; border-top:8px solid #d7e9ea;}
panel1
panel2
panel3
borderとborder-radiusを組み合わせて手書きしたような枠線を表現しています。
.tab_wrap{width:470px; margin:80px auto;}
.tab_area{font-size:0; margin-right:30px; text-align:right;}
.tab_area label{width:90px; margin-right:10px; display:inline-block; padding:14px 0 12px; color:#fff; background:#90C9CF; text-align:center; font-size:13px; cursor:pointer; transition:ease 0.2s; border:4px solid #90C9CF; border-bottom:none; border-radius:30% 5% 2% 5%/ 14% 40% 25% 25%; transform:translateY(8px); position:relative;}
.tab_area label:last-of-type{margin-right:0;}
.tab_area label:hover{background:#afd6d8;}
.panel_area{width:100%; background:#fff; padding:80px 0; border:4px solid #90C9CF; border-radius:2% 12% 2% 12%/ 22% 8% 22% 8%; position:relative; z-index:0;}
.tab_panel{opacity:0; display:none;}
.tab_panel p{font-size:14px; letter-spacing:1px; text-align:center;}
panel1
panel2
panel3
選択中のタブが正円になるように指定し、切り替えコンテンツの角丸を大きくして可愛らしいデザインにしています。
.tab_wrap{width:460px; margin:80px auto;}
.tab_area{font-size:0; margin:0 65px;}
.tab_area label{width:100px; margin:0 5px; display:inline-block; transition:ease 0.2s border-radius, ease 0.2s transform; vertical-align:bottom; padding:14px 0 12px; color:#fff; background:#90c9cc; text-align:center; font-size:13px; cursor:pointer; border-top-left-radius:20px; border-top-right-radius:20px; box-sizing:border-box;}
.tab_area label:hover{opacity:0.5;}
.tab_panel{width:100%; padding:80px 0; opacity:0; display:none; background:#fff; border-radius:0 0 20px 20px;}
.tab_panel p{font-size:14px; letter-spacing:1px; text-align:center;}
.panel_area{position:relative; background:#fff; border-radius:15px 15px 20px 20px; border-top:15px solid #d7e9ea;}
アニメーションをつける
タブをクリックし、タブやコンテンツが切り替わる際のアニメーションを実装します。
簡単なアニメーションでも、動きが入っているだけで切り替わったタブや
コンテンツがわかりやすくなり、よりよく見せることができます。
コンテンツの中身がフェードで切り替わる
CSSでの実装
panel1
panel2
panel3
@keyframes tabAnim{
  0%{opacity:0;}
  100%{opacity:1;}
}
.tab_wrap{width:500px; margin:80px auto;}
input[type="radio"]{display:none;}
.tab_area{font-size:0; margin:0 10px;}
.tab_area label{width:150px; margin:0 5px; display:inline-block; padding:12px 0; color:#999; background:#ddd; text-align:center; font-size:13px; cursor:pointer; transition:ease 0.2s opacity;}
.tab_area label:hover{opacity:0.5;}
.tab_panel{width:100%; opacity:0; padding:80px 0; display:none;}
.tab_panel p{font-size:14px; letter-spacing:1px; text-align:center;}
.panel_area{background:#fff;}
#tab1:checked ~ .tab_area .tab1_label{background:#fff; color:#000;}
#tab1:checked ~ .panel_area #panel1{display:block; animation:tabAnim ease 0.6s forwards; -ms-animation:tabAnim ease 0.6s forwards;}
#tab2:checked ~ .tab_area .tab2_label{background:#fff; color:#000;}
#tab2:checked ~ .panel_area #panel2{display:block; animation:tabAnim ease 0.6s forwards; -ms-animation:tabAnim ease 0.6s forwards;}
#tab3:checked ~ .tab_area .tab3_label{background:#fff; color:#000;}
#tab3:checked ~ .panel_area #panel3{display:block; animation:tabAnim ease 0.6s forwards; -ms-animation:tabAnim ease 0.6s forwards;}
CSS、JSでの実装
panel1
panel2
panel3
JSで制御するCSSの記述
.tab_area label.active{background:#fff; color:#000;}
.tab_panel.active{display:block; animation:tabAnim ease 0.6s forwards; -ms-animation:tabAnim ease 0.6s forwards;}
JSの記述
$(".tab_label").on("click",function(){
  var $th = $(this).index();
  $(".tab_label").removeClass("active");
  $(".tab_panel").removeClass("active");
  $(this).addClass("active");
  $(".tab_panel").eq($th).addClass("active");
});
コンテンツが上からスライドして切り替わる
CSSでの実装
panel1
panel2
panel3
@keyframes tabAnim{
  0%{top:-100%;}
  100%{top:0;}
  }
.tab_wrap{width:500px; margin:80px auto;}
input[type="radio"]{display:none;}
.tab_area{font-size:0; margin:0 10px;}
.tab_area label{width:150px; margin:0 5px; display:inline-block; padding:12px 0; color:#999; background:#ddd; text-align:center; font-size:13px; cursor:pointer; transition:ease 0.2s opacity;}
.tab_area label:hover{opacity:0.5;}
.panel_area{overflow:hidden; height:210px; position:relative;}
.tab_panel{width:100%; background:#fff; overflow:hidden; position:absolute; height:100%;}
.tab_panel p{font-size:14px; letter-spacing:1px; text-align:center; padding:80px 0;}
#tab1:checked ~ .tab_area .tab1_label{background:#fff; color:#000;}
#tab1:checked ~ .panel_area #panel1{animation:tabAnim ease 0.4s forwards; -ms-animation:tabAnim ease 0.4s forwards; z-index:1;}
#tab2:checked ~ .tab_area .tab2_label{background:#fff; color:#000;}
#tab2:checked ~ .panel_area #panel2{animation:tabAnim ease 0.4s forwards; -ms-animation:tabAnim ease 0.4s forwards; z-index:1;}
#tab3:checked ~ .tab_area .tab3_label{background:#fff; color:#000;}
#tab3:checked ~ .panel_area #panel3{animation:tabAnim ease 0.4s forwards; -ms-animation:tabAnim ease 0.4s forwards; z-index:1;}
CSS、JSでの実装
panel3
panel2
panel1
JSで制御するCSSの記述
.tab_area label.active{background:#fff; color:#000;}
#cj_panelarea .tab_panel{transition:ease 0.4s;}
#cj_panelarea .tab_panel.active{animation:tabAnim ease 0.4s forwards; -ms-animation:tabAnim ease 0.4s forwards; z-index:1;}
JSの記述
$(".tab_label").on("click",function(){
  var $th = $(this).index()+1;
  $(".tab_label").removeClass("active");
  $(".tab_panel").removeClass("active");
  $(this).addClass("active");
  $("#panel"+$th).addClass("active").appendTo($("#cj_panelarea"));
});
選択中のタブが浮いて吹き出しの形になる
CSSのみでの実装です
panel1
panel2
panel3
.tab_wrap{width:500px; margin:80px auto;}
.tab_area{font-size:0; margin:0 10px;}
.tab_area label{width:150px; margin:0 5px; display:inline-block; padding:12px 0; color:#999; background:#ddd; text-align:center; font-size:13px; cursor:pointer; transition:ease 0.2s; position:relative;}
.tab_area label:before{content:""; width:0; height:0; border:75px solid transparent; border-top:15px solid #ddd; display:block; position:absolute; left:0; right:0; bottom:0; margin:auto; transform:translateY(100%); transition:ease 0.2s;}
.tab_area label:hover{transform:translateY(-17px);}
.panel_area{width:100%; background:#fff; overflow:hidden; position:relative; z-index:0;}
.tab_panel{display:none;}
.tab_panel p{font-size:14px; letter-spacing:1px; text-align:center; padding:80px 0;}
#tab1:checked ~ .tab_area .tab1_label{background:#fff; color:#000; transform:translateY(-17px);}
#tab1:checked ~ .tab_area .tab1_label:before{border-top-color:#fff;}
#tab1:checked ~ .panel_area #panel1{display:block; animation:tabAnim ease 0.5s forwards; -ms-animation:tabAnim ease 0.5s forwards;}
#tab2:checked ~ .tab_area .tab2_label{background:#fff; color:#000; transform:translateY(-17px);}
#tab2:checked ~ .tab_area .tab2_label:before{border-top-color:#fff;}
#tab2:checked ~ .panel_area #panel2{display:block; animation:tabAnim ease 0.5s forwards; -ms-animation:tabAnim ease 0.5s forwards;}
#tab3:checked ~ .tab_area .tab3_label{background:#fff; color:#000; transform:translateY(-17px);}
#tab3:checked ~ .tab_area .tab3_label:before{border-top-color:#fff;}
#tab3:checked ~ .panel_area #panel3{display:block; animation:tabAnim ease 0.5s forwards; -ms-animation:tabAnim ease 0.5s forwards;}
まとめ
いかがでしたか? 今回は簡単な実装を心がけ、比較的単純なデザインやアニメーションをご紹介しました。
便利なタブ切り替えの機能が簡単に実装できると思っていただけたのではないでしょうか。
CSS・JSにはまだ様々なプロパティや機能があるので
それらを駆使してより使いやすく、リッチなデザインのタブ切り替えコンテンツができたら良いと思います。
RECENT POSTS
TRENDING
MORE FOR YOU
今日もあなたに気づきと発見がありますように